
About Masters Electric
Masters Electric dispatches technicians for electrical failures after collecting details on symptoms like tripped breakers or burning odors. On arrival crews verify the main disconnect position and measure voltage at the panel before touching any circuits. Homeowners receive step by step descriptions of findings and the sequence of tests planned. Work finishes only after voltage checks confirm safe operation and all covers are secured.
Questions about a job? Start on the Masters Electric homepage or call (888) 207-3104.
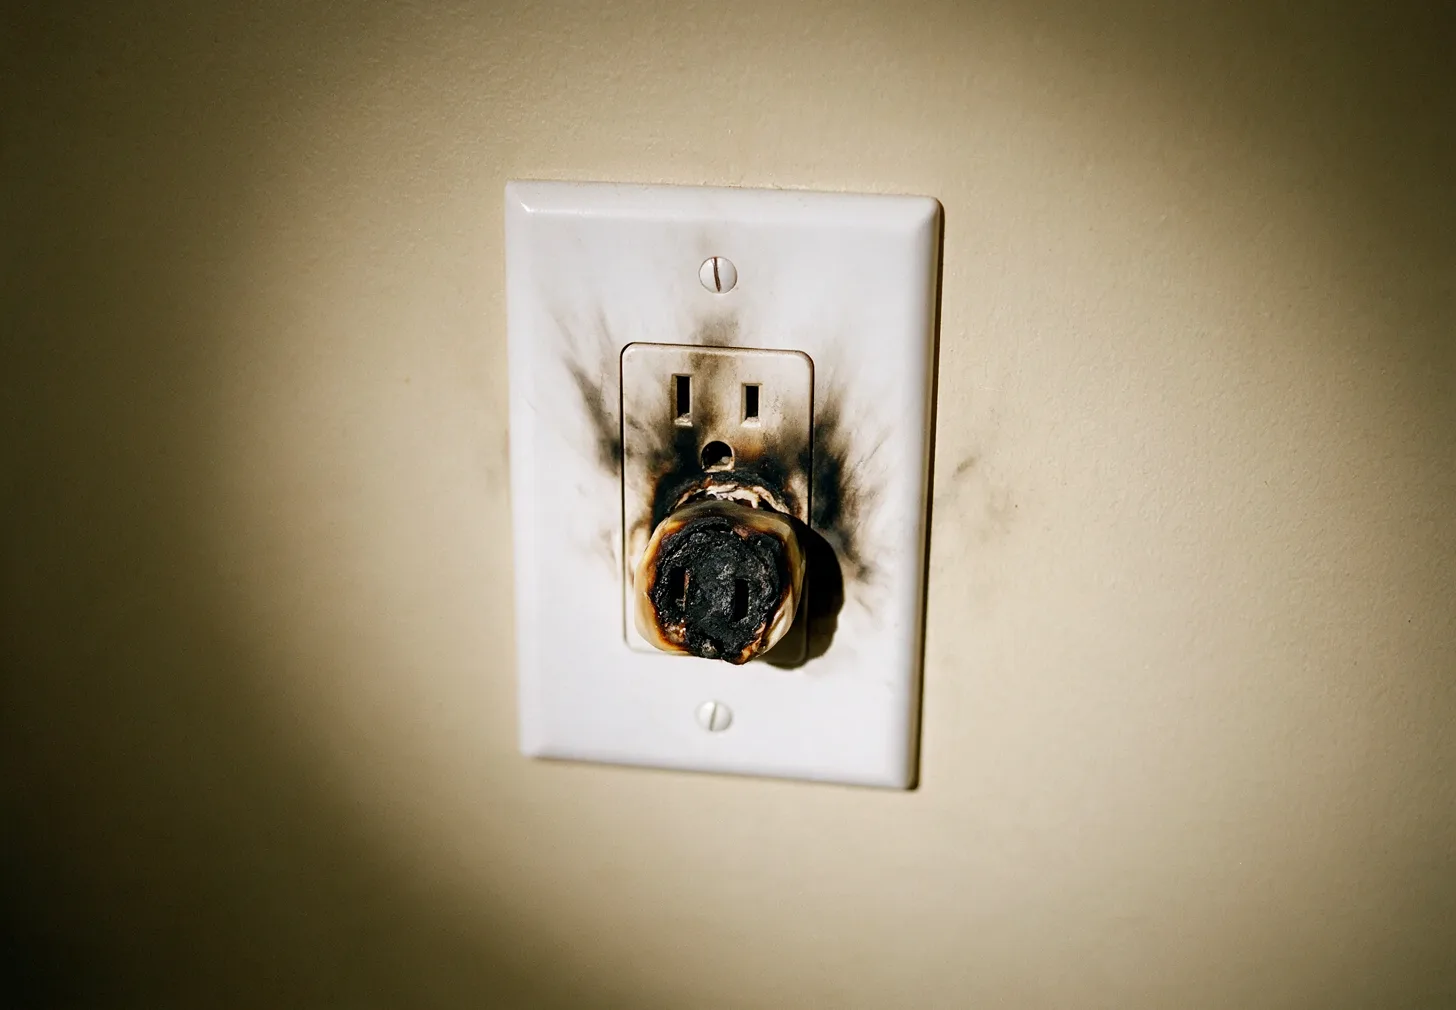
Safety First Checks
Technicians verify main disconnect position and measure incoming voltage before opening any panel cover or touching branch wiring.
Clear Step Reports
Each test result is shown on a meter and written on a diagram so homeowners understand exactly which component failed and why.
Torque Verified Connections
All lugs and breaker terminals receive a final torque check with a calibrated driver before the dead front is reinstalled.
Clean Work Area
Debris is swept and removed, wall plates are replaced, and the panel door is closed before the technician leaves the home.
Call Intake Process
When a homeowner reports no power or a breaker that will not reset the technician on the line asks the location of the main panel and whether any smoke or heat was noticed. This quick list determines whether the main breaker should stay off until arrival. The call also covers the number of affected circuits and any recent work done near outlets or switches. Accurate details let the arriving crew bring the correct test equipment and replacement parts.
Technicians note any generator already connected or solar inverter present because backfeed risks change the lockout steps. Homeowners are told to avoid opening the panel door and to keep children away from the area. The call ends with instructions on which lights or appliances can safely stay unplugged to reduce load once power returns.
On Site Assessment
Technicians begin by confirming the main breaker is off and checking for heat at the lugs with an infrared thermometer. They then remove the dead front and inspect for melted insulation, corrosion, or double tapped neutrals. Voltage is measured at the meter base and each branch breaker before any load is applied. Findings are recorded on a diagram the homeowner can keep.
If an arc fault or ground fault is suspected the technician isolates that circuit and tests with a megger at 500 volts. This step reveals damaged wire hidden inside walls without opening every box. Homeowners are shown the meter readings and told which components must be replaced versus which can be tightened and reused.
Explaining the Findings
After testing the technician lists each problem in order of safety priority. Burn marks on a breaker stab explain why that circuit keeps tripping while a loose neutral explains flickering lights. The homeowner sees the actual damaged part and receives the part number for the required replacement. No work starts until the sequence and cost of each step is accepted.
Technicians also point out code items that are not yet failed but will need attention during a future panel upgrade. This prevents repeated visits for the same panel. All options are written on the same diagram used during testing so the homeowner can refer to it later.
Work Completion Steps
Once repairs are finished every terminal receives a torque check with a calibrated driver. The dead front is reinstalled and all screws are tightened to specification. Voltage is rechecked at outlets on repaired circuits with the main breaker on. The technician walks the homeowner through the panel showing which breakers were replaced and which remain original.
Tools and debris are removed from the floor before the panel door is closed. The area around the panel is swept and any removed wall plates are replaced. The homeowner receives a printed summary of tests performed and the torque values recorded so future technicians have a baseline.